ATOs ScanBox Series 5
Mobile Measuring System for Parts up to a Size of 2000 mm


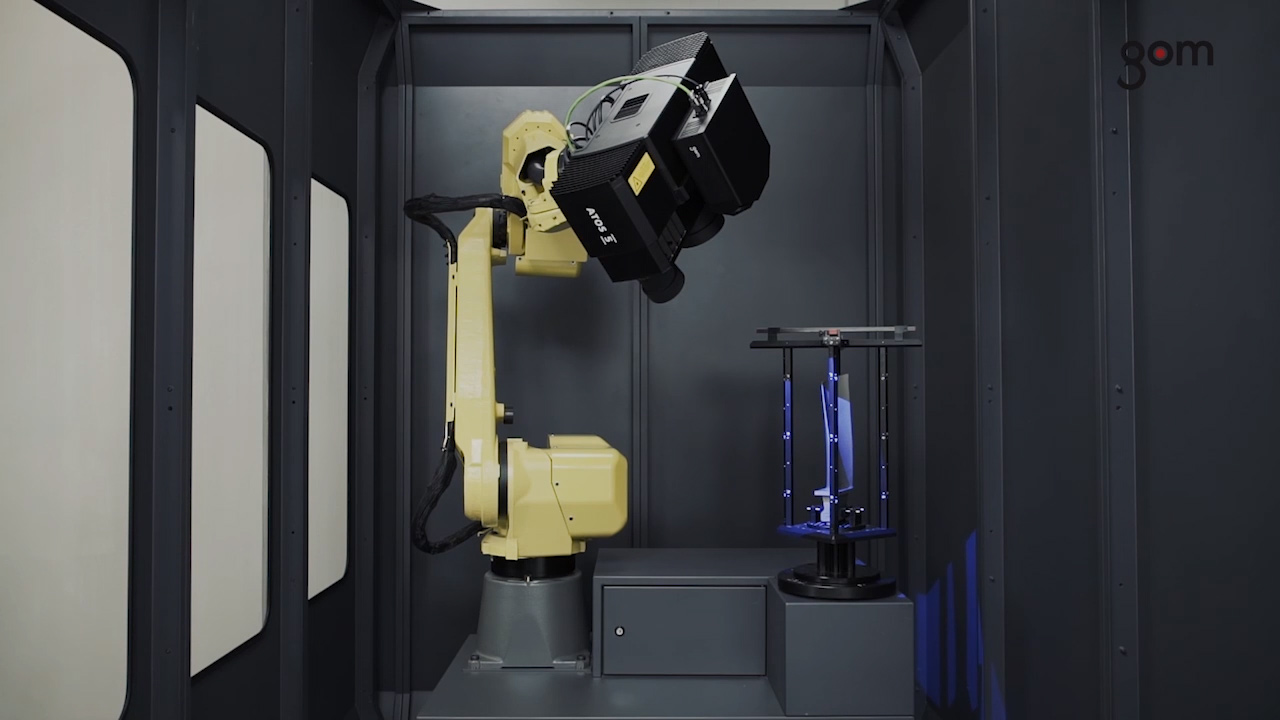
The ATOS ScanBox 5108 can be used for inspecting parts up to a size of 800 mm. Due to the small dimensions of the ATOS ScanBox, the system is often used by manufacturers of turbines, fans, blisks and cast housings. In airfoil inspections, this model can be used for measuring sharp radii in positions and contours with a detail resolution of more than 20 measuring points per millimeter.
As parts of up to 2000 mm in size can be easily measured with the ATOS ScanBox 5120, this model is mainly used for larger parts, such as interior components of vehicles. However, the ATOS ScanBox 5120 has also proven its efficiency in casting and forging applications such as the inspection of cast parts, sand cores and models.

| ATOS ScanBox 5108 | ATOS ScanBox 5120 | |
|---|---|---|
| Dimensions | 2000 × 2550 × 2700 mm³ | 3300 × 3300 × 2700 mm³ |
| Power supply | 200–500 V (3-phase, 16 A) | 200–500 V (3-phase, 16 A) |
| Max. part size | Ø 800 mm | Ø 2000 mm |
| Max. part weight | 300 kg | 500 kg |
| Entry | Sliding door with safety switch | Sliding door with safety switch |
| Opening width | 800 mm | 1400 mm |
| Floor mounting or fixing | Not required | Not required |
| Loading concept | Manual | Manual, transport cart, pallet truck |
| Sensor compatibility | ATOS Capsule, ATOS Triple Scan, ATOS 5 | ATOS Capsule, ATOS Triple Scan, ATOS 5 |
For further information about the ATOS ScanBox, please download the brochure.
For an even higher throughput, the ATOS ScanBox 5108 can be extended by an automated handling system and a programmable logic controller (PLC). The ATOS ScanBox with Batch Processing System enables unmanned loading and unloading and an automated measurement and inspection according to the inspection plan – for example, for electrode production or quality assurance of turbine blades. This way, manual interventions are reduced and long machining times are guaranteed.
In addition to the robot and the rotation table, the entire control, safety and power electronics system is located in or on the modules, which are the size of a Euro pallet and which can be easily moved with a pallet truck. The industrial robot used enables an internal cable routing. This ensures that the robot paths computed by Auto Teaching do not lead to a jamming or stretching of the sensor cables. The machine housing is constructed around the modules. This ensures occupational safety in accordance with the Machinery Directive.
The series 5 machines are designed in such a way that they can be assembled and dismantled within one day. As no floor anchors are required and transportation is by truck, they can be quickly and easily transported from one location to another.
The virtual measuring room is the central control station and measurement planning software for all elements of the ATOS measuring cells. It offers the functional representation of a real measurement environment in a virtual simulation. Thanks to the VMR, the user can work with the system without requiring specific robot programming skills. All robot movements are simulated and checked for safety before being performed in the actual environment.
UCS Tower, plaza # 1, Hill Road Commercial area , phase 6 , Bahria Town, Islamabad Pakistan
The Pakistans leading 3D Printing Service & Marketplace!
