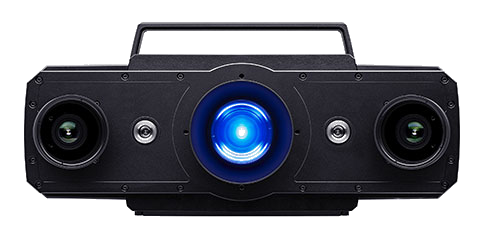
ATOS 5
Precision Through Innovation
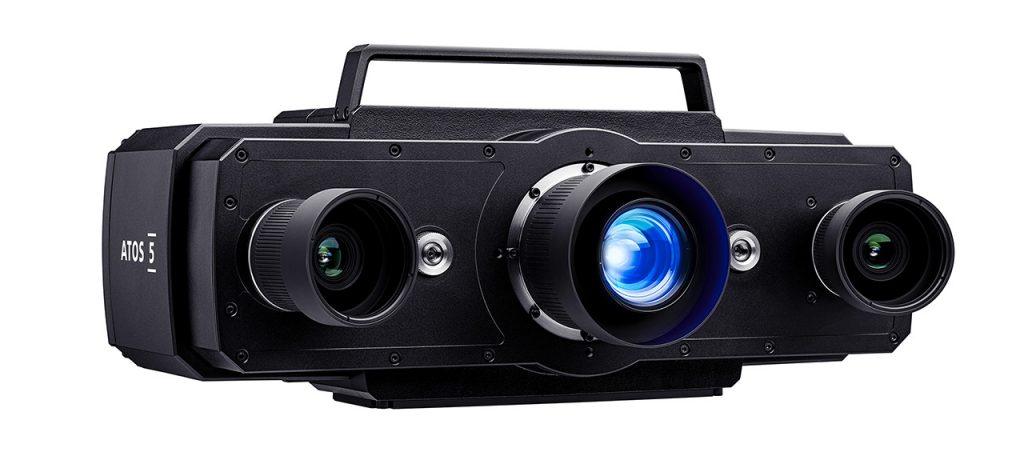
Developed for industrial use, ATOS 5 delivers high-precision data in a short measuring time even under harsh conditions. The full-field 3D measuring data allows comprehensive process and quality control, visualizing hidden errors and thus speeding up production processes.
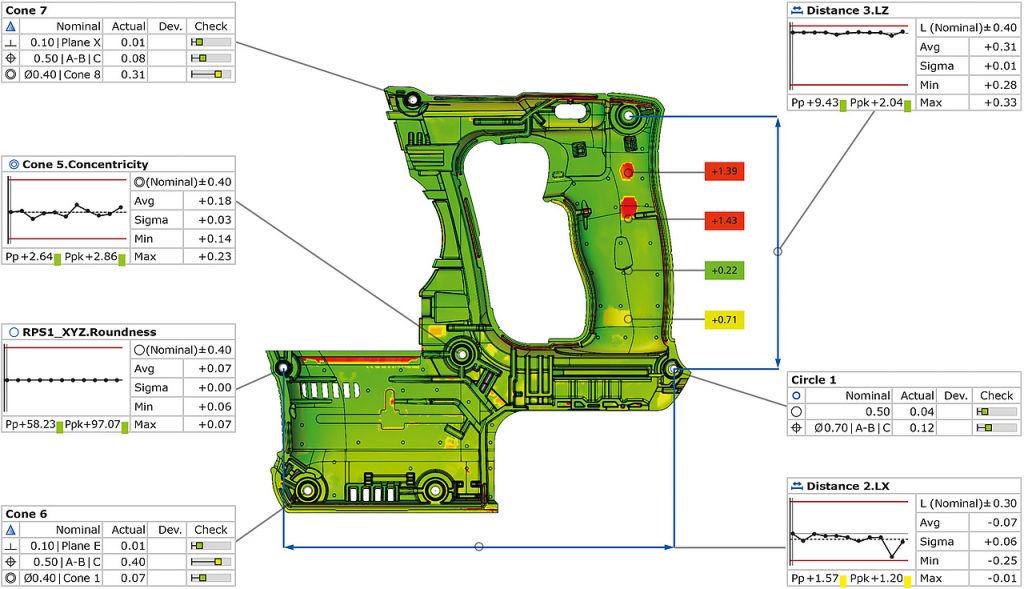
Highest Data Quality
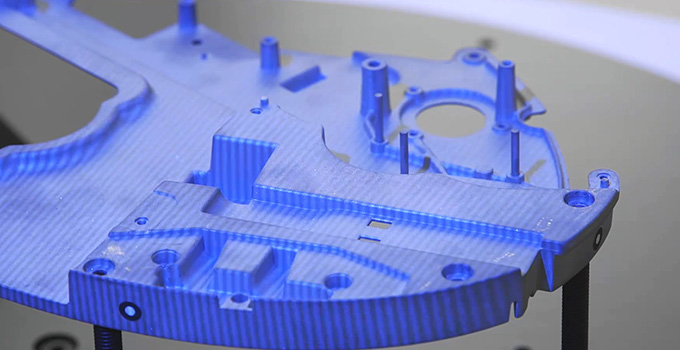
With its powerful light source, ATOS 5 delivers high-precision data for a diverse range of manual and automated applications: from tools and molds to plastic and metal parts. The GOM data quality is particularly evident in the detail sharpness of the 3D models, for example, in the precise display of smallest details, rib structures, narrow radii or hemmed edges.
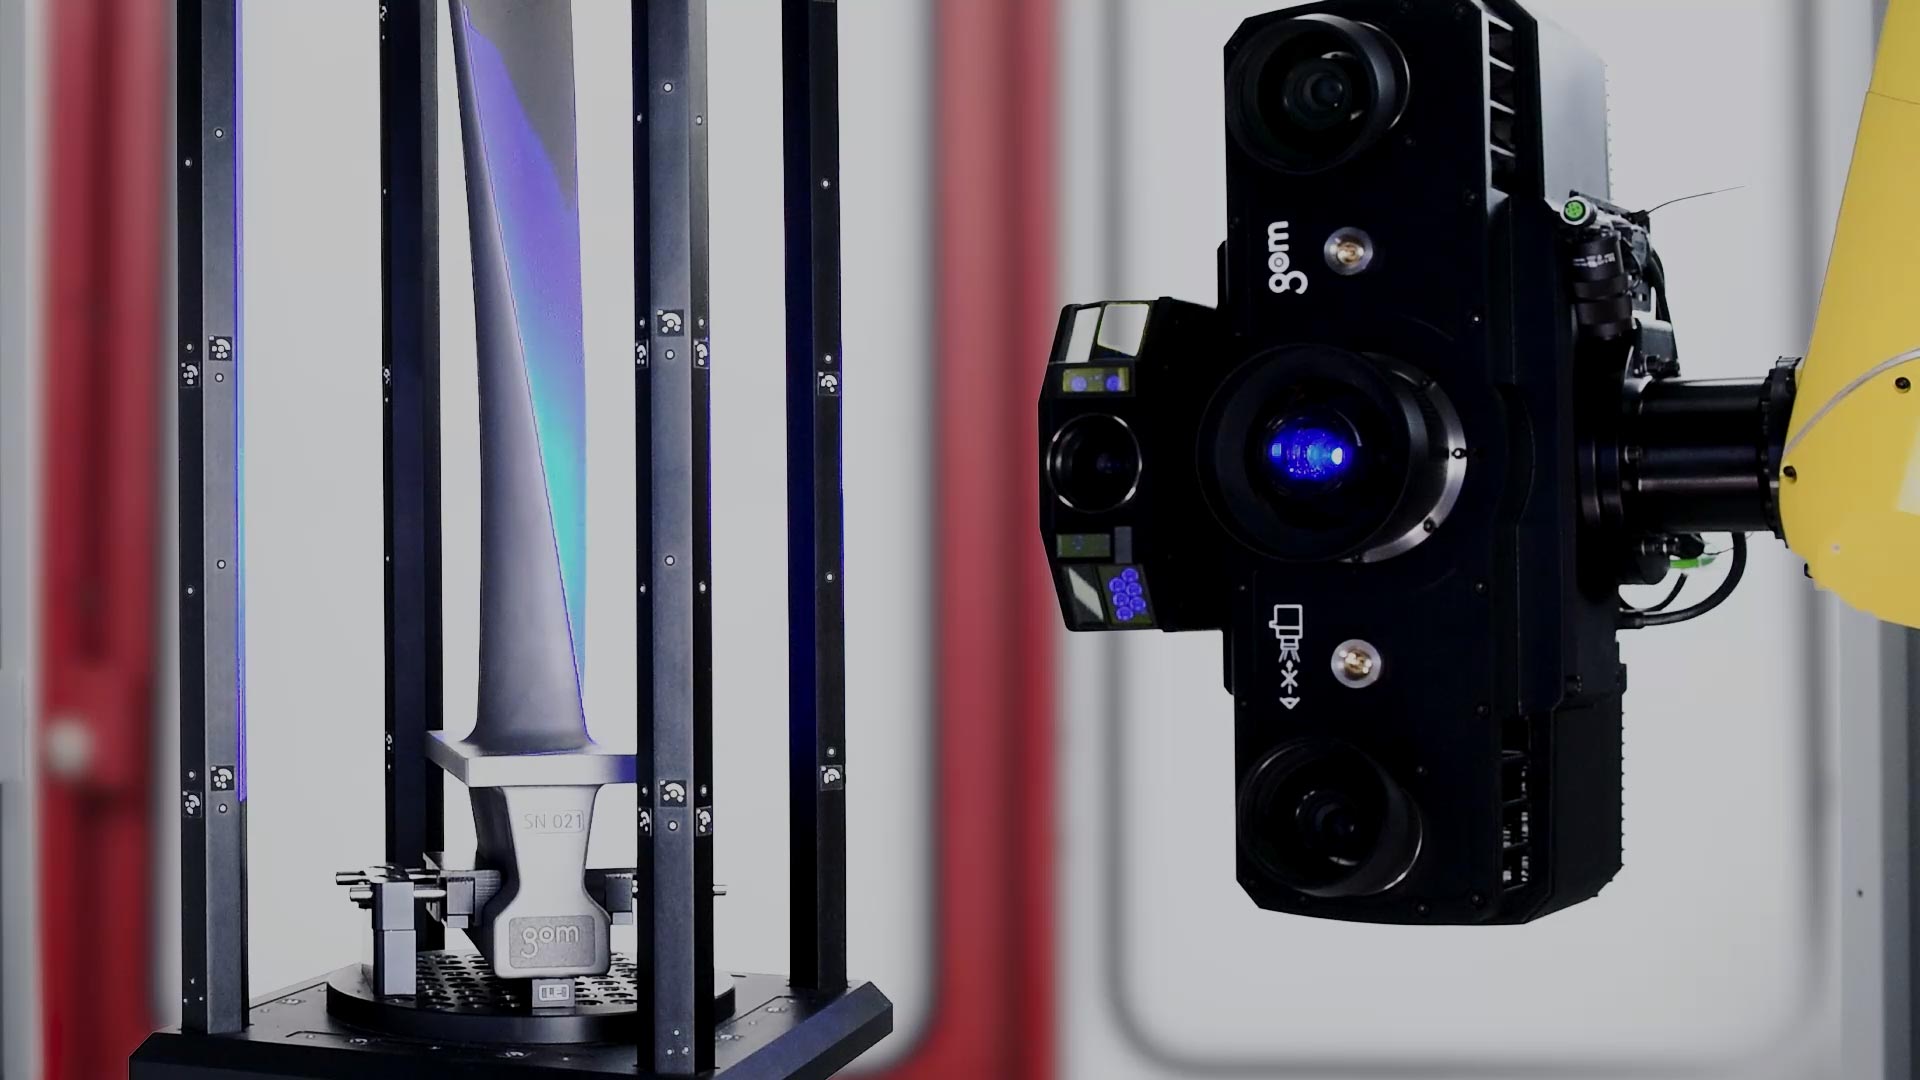
Innovations
Blue Light Equalizer
Uniform non-coherent speckle-free light
Low noise level
Precise coverage of complex geometries
High detail resolution
Projection of very small fringes per unit area
Bright LED light source
1.5 times brighter
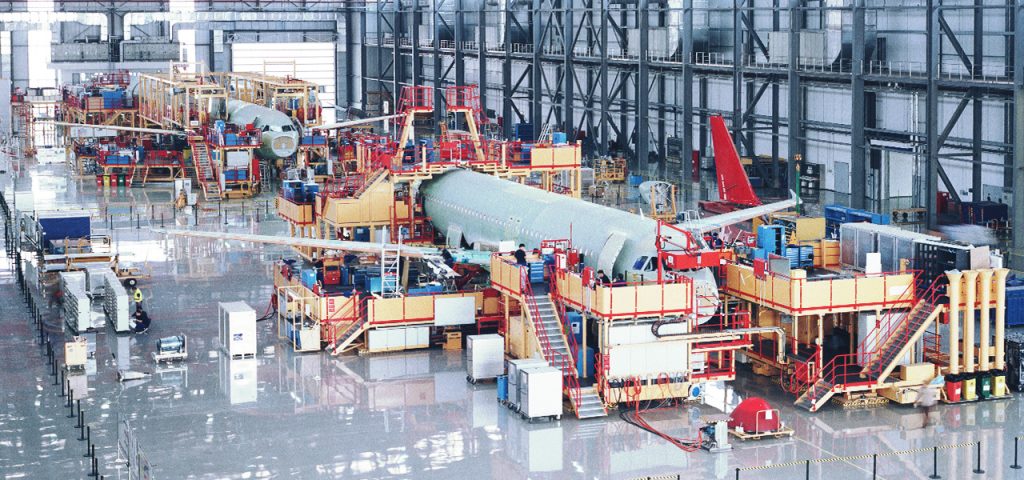
Shop Floor Metrology
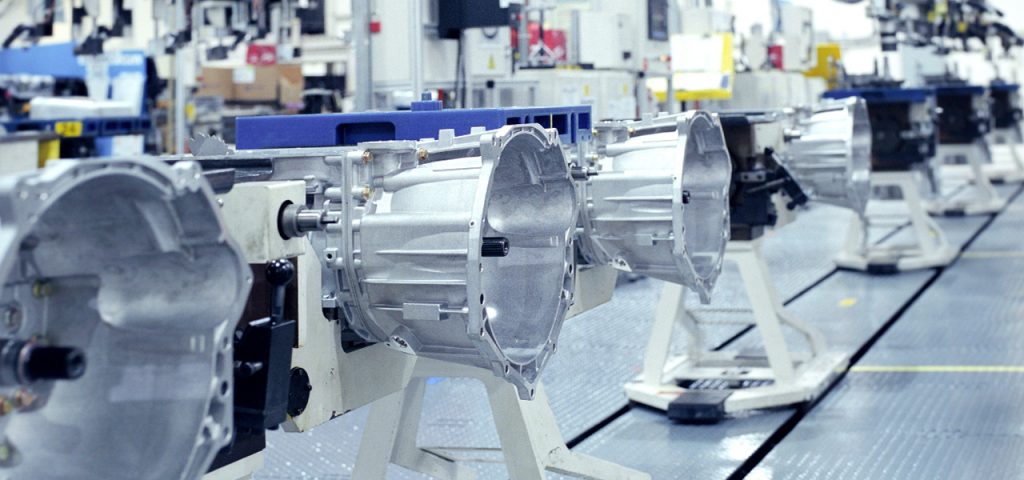
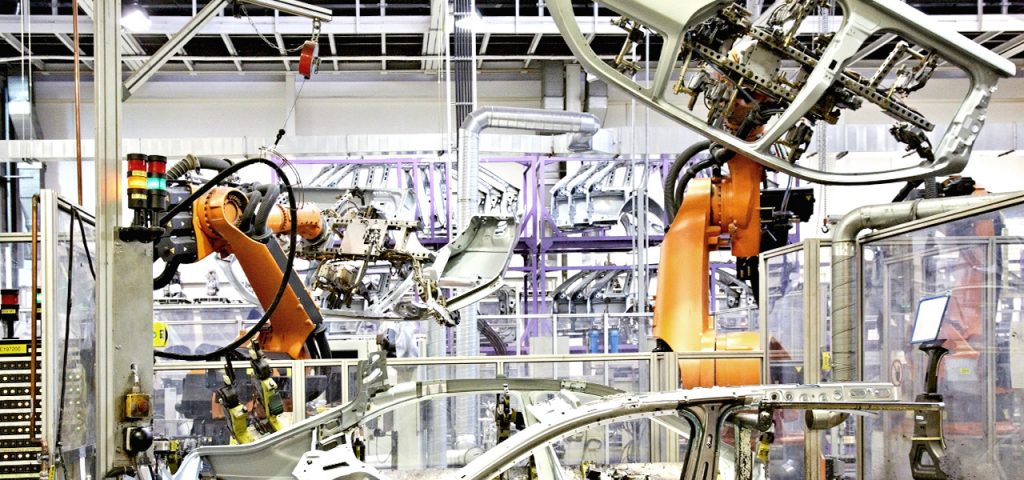
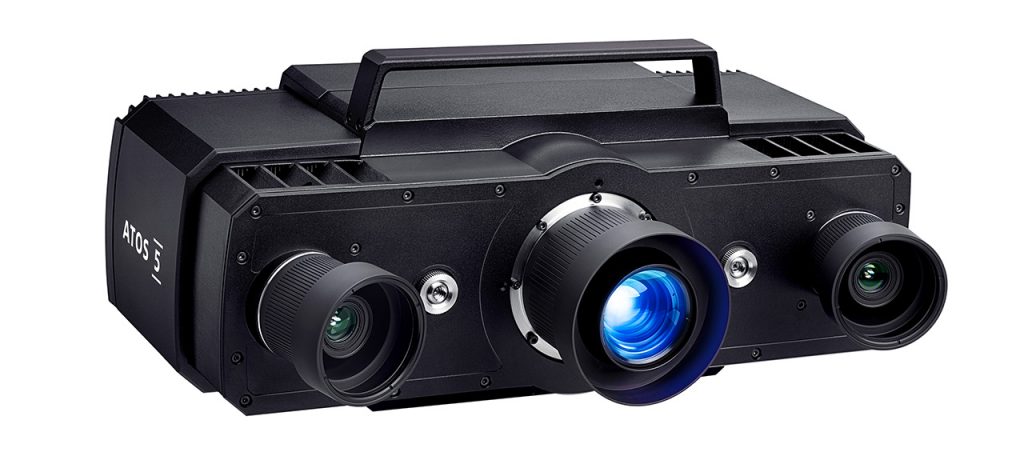
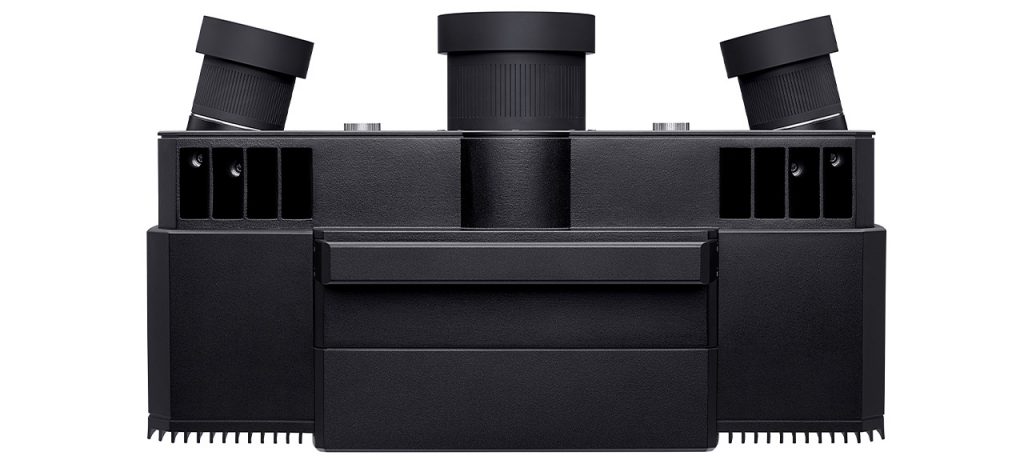
The right combination of hardware and software allows for safe integration of 3D metrology into production. The industrial housing is protected against dust and splash water. The whole system ensures fast and interference-free data transfer.
Innovations
Fast data processing
Industrial connectivity with fiber optical cables and robust connectors
Interference-free
Resistant to surrounding electromagnetic fields
High data throughput
Cable lengths up to 30 m
Intelligent sensor communication
Active temperature management
High Speed
More light and fast cameras allow for short exposure times on all surfaces. With 0.2 seconds per scan and 100 frames per second, ATOS 5 constitutes a high-speed 3D scanning system providing highest precision.
Process Safety
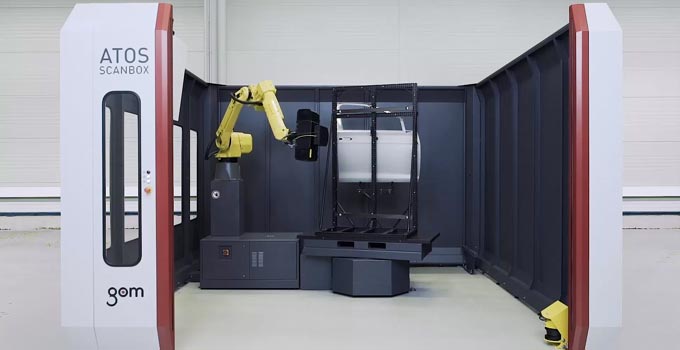
More light and fast cameras allow for short exposure times on all surfaces. With 0.2 seconds per scan and 100 frames per second, ATOS 5 constitutes a high-speed 3D scanning system providing highest precision.
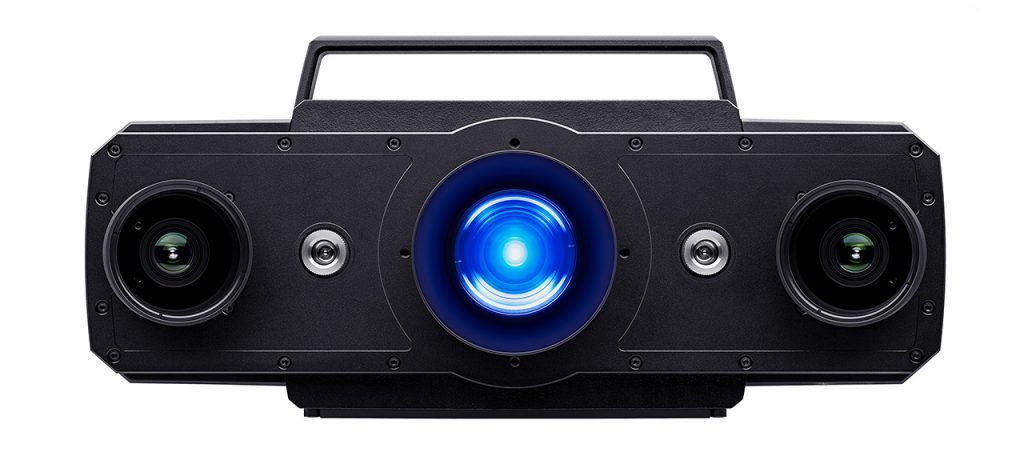
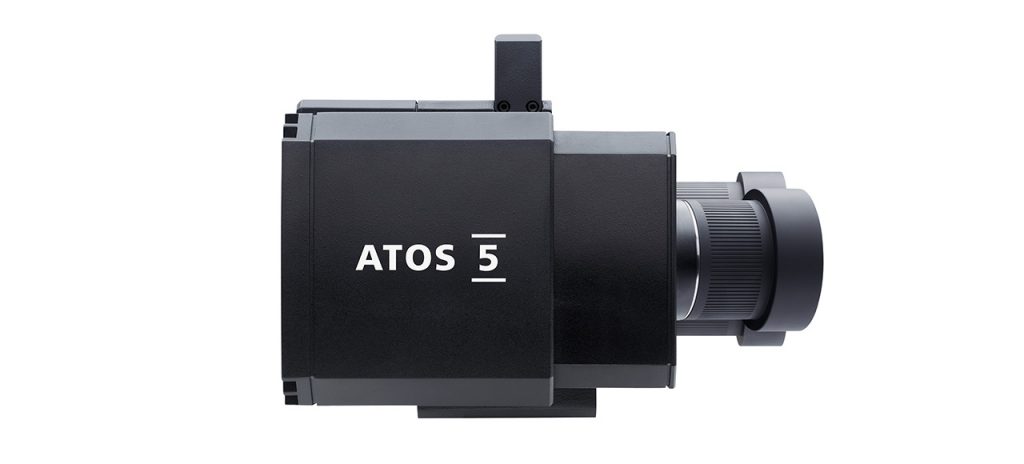
Robust Precision in Industrial Housing
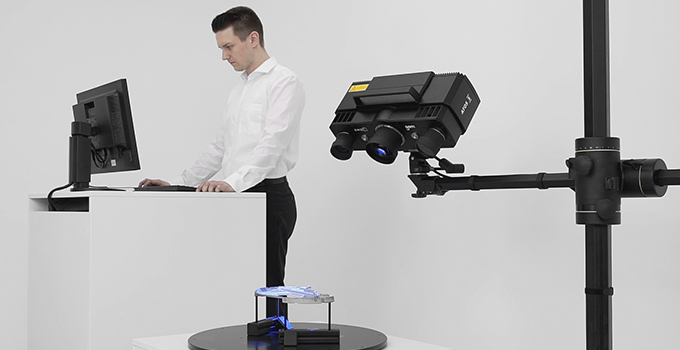
ATOS 5 in Use
Mobile metrology
Watch the system in manual use with its complete range of functionalities, from scanning to tracking and back projection.
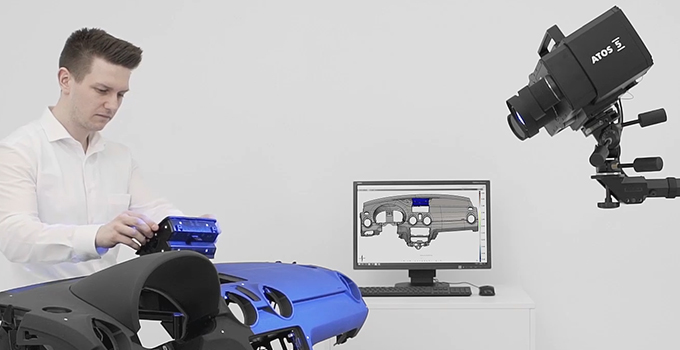
Plastic Components
Casting Industry
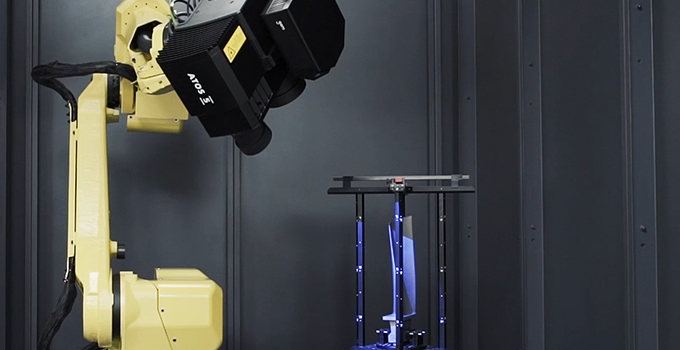
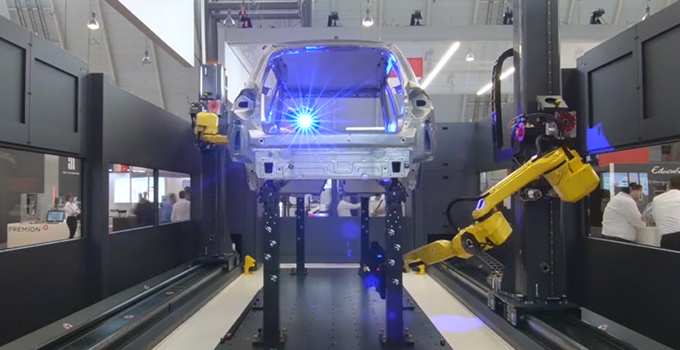
Automated inspection
Watch the system in manual use with its complete range of functionalities, from scanning to tracking and back projection.
Airfoil inspection
Automotive hang-on parts
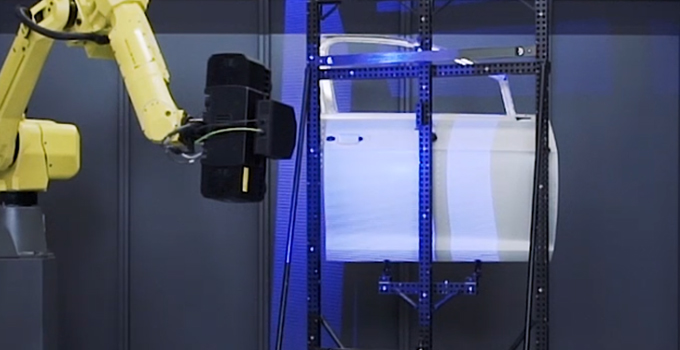
Complete car body inspection
ATOS 5 Product Family
Industrial 3D Metrology with High-Speed Technology
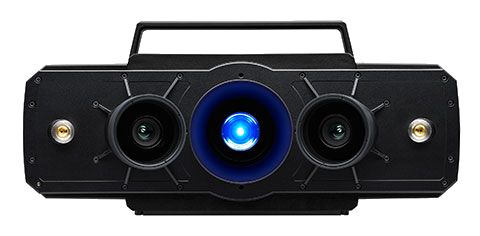
ATOS 5 for Airfoil
precise scanning of smallest details
Light Source
LED
Measuring points per scan
12 m.
Working distance
530 mm
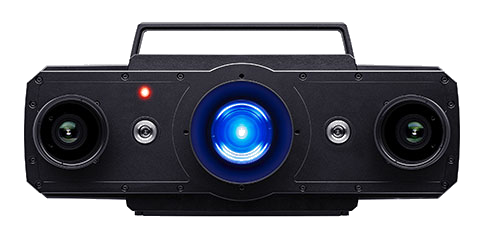
ATOS 5X
automated scanning for large volumes
Light Source
LASER
Measuring points per scan
12 m.
Working distance
880 mm
info@ucs-int.com
Location
+92-337-7779040
UCS Tower, plaza # 1, Hill Road Commercial area , phase 6 , Bahria Town, Islamabad Pakistan
About us
The Pakistans leading 3D Printing Service & Marketplace!


